Mis en avant

HOW TO DRESS FOR SKI TOURING?

EQUIPMENT SKI TOURING

In ski touring, more than other sports, the combination of outdoor conditions and body effort require a complex dress system. I recommend the famous « three-layer rule. »

— Ski touring equipment at Telemark Pyrenees

Clothes for ski touring

1st breathable layer: it has no other function than to evacuate outward the moisture produced by your body. Synthetic fabrics do this very well but they might be smelly!

Tip: In any case, avoid the good old cotton t-shirt! Once soaked, it no longer drains the temperature and humidity and you’ll experience a cold snap as soon as the temperature drops (wind, shutdown …). If you want to feel comfortable, take a second first layer to put on top if you sweated too much on the climb. You’ll be happy to wear something dry for the descent.

2nd thermal layer: it is the one that will ensure the heat around your body and it is therefore the one that is the most difficult to anticipate. Through experience and self-knowledge, we end up knowing which one is best for us for this type of condition. Moreover, in the spring, some remove it outright (small advice not to have to stop after 5 minutes: always leave with a little cold because you will be breaking sweat!). You don’t have to wear a down jacket or a big fleece, you’re going to get hot!

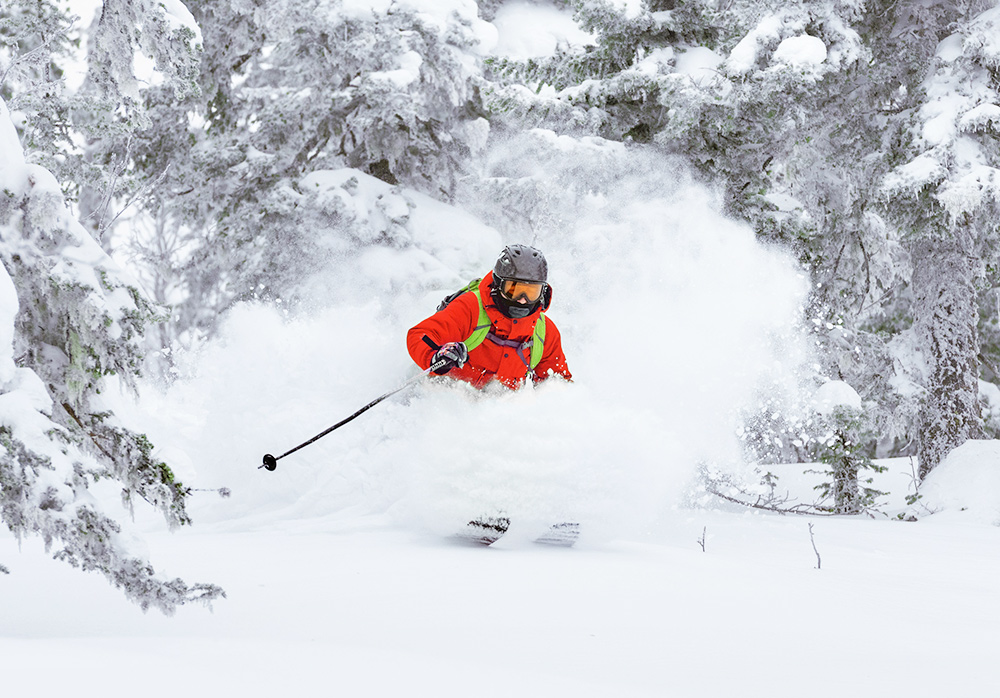
3rd insulating layer: here we are talking about your second protective layer, the one that protects you from the wind, rain and snow. A hardshell jacket, with a good membrane, will be your best ally. It should be waterproof, or at least water repellent, and breathable, minimum 20,000 mm and preferably with large zippered openings under the arms. It is not necessarily worn whilst skinning uphill unless it’s windy or for thermal isolation if it is really cold (e.g. in the morning, in the shade). However, it will be very useful at the windy summits, skiing downhill and in case of falling on the snow.

Pants Ski touring

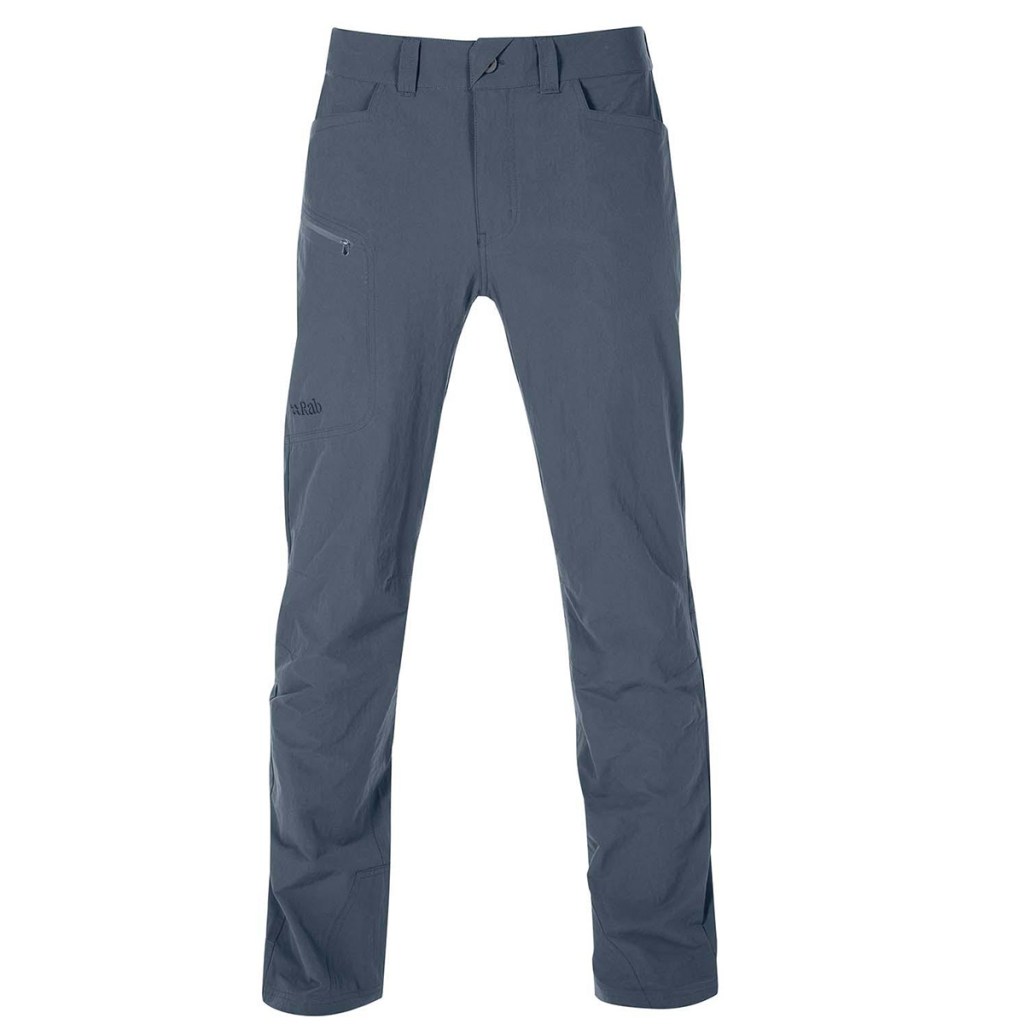
Pants: As with the third layer of the top, it must be breathable and insulating. My choice depends on the weather: in the middle of a windy winter, I wear gore-tex pants that will effectively isolate me. In case of extreme cold, I put a thermal tight underneath to ensure heat on the thighs. When the conditions are more lenient, I take softshell pants, stretchy and more breathable.

 Socks: To avoid blisters and remove heat from the boots, I use X-Socks specifically designed for this and reinforced in strategic locations. When I leave over several days, I wear merino wool socks.

The underpants? Oh well… preferably clean!! With two holes to pass the legs. And feel free to chose the color!

Helmet

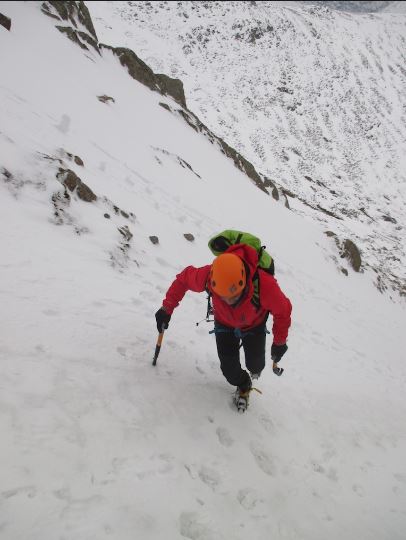
Helmet: above narcissistic ego and desire for freedom, wear for safety! All the federations strongly recommend wearing helmets in ski touring to protect against falling stones and especially from accidental headbutts againsto trees, rocks, concrete snow… Lighter and more breathable than an alpine ski helmet, the French brand Petzl has notably developed two multi-standard models, specifically certified for ski touring.

Goggles or sunglasses? Both my colonel! Sunglasses for the climb and summit. I have polarizing lenses (which adapt to the brightness): a treat to reinforce contrasts, especially in slightly foggy weather). The mask is used for the descent. In case of a fall, it is more resistant, protective and attached, we are not likely to lose it in the powder.

The neck warmer: light and versatile, it is very convenient to protect the throat from the cold or use it as a headband. In cold and/or windy weather, I put a neck warmer with a nose pad. That way, with the mask and helmet, I’m perfectly safe.

Reard more this articles :

HOW TO CHOOSE YOUR AVALANCHE SAFETY EQUIPMENT?

The best protection against avalanches is not to get caught in it. Before you go to the backcountry to ski, snowboard or even snowshoe, take an avalanche safety course and make sure you know the snow conditions and the terrain you want to explore. Even the best avalanche safety equipment will be useless if you don’t know how to use it, and none of these items can prevent an avalanche.

A must-have!! As in the best case, the helicopter will not arrive for 20-30 minutes, you are the first rescuers on site (a victim loses 80% chance of survival after 15 minutes: asphyxia – hypothermia). This Holy Trinity Avalanche transciever -Shovel-Probe will then be your only tool to try to get people out alive or to be out yourself. The market offers standard kits at more affordable prices. You can also choose each object precisely for its characteristics.

AVALANCHE SAFETY EQUIPMENT

All persons in a group travelling to the hinterland must be equipped with the following avalanche safety equipment:

  • An avalanche transciever
  • A probe
  • A shovel

A new addition has recently been added to the list of avalanche safety items: the inflatable balloon. We’ll discuss this technology later in this post. And of course, in addition to having the right equipment, all members of your group must have completed avalanche safety training before venturing into the backcountry.

The Avalanche transciever or avalanche victim detectors

The Avalanche Transciever is the instrument that emits or receives a signal to be located and locate one or more people buried under the snow. In search mode, the dial indicates a distance and a direction. Preferably, use one that you know very well. Don’t be stingy about the price: it’s about saving lives (and maybe yours!). Choose a new and digital one,more efficient than the old analogs, and train according to the instructions. Change the batteries to less than 80% to make sure it will work in the cold. Among the major brands of Avalanche Transciever are Arva, Ortovox, Mammut. I chose the Barryvox for the large search strip width (70 meters).

Buy your package off piste safety at shop online Telemark Pyrenees

The probe:

After roughly locating the victim at the Avalanche transciever, this telescopic pole allows you to « test the ground » to know exactly where it is. To do this, a spiral probe is probed in the shape of a snail. Take a size of at least 240 cm, with a simple and efficient fastening system. Keep the gloves during use so as not to give the rescue dogs the wrong olfactory indications.

The shovel:

It is used to clear the snow to get the victim out. The shovelling is done horizontally of the body so that it can be gently slid (instead of pulling from the top and thus aggravate potential injuries). If there are several of us, we position ourselves in the shape of a V to be more efficient. Prefer a model with an aluminum blade rather than plastic (lighter but more fragile) and with an oval handle rather than round, more convenient to fold it in the emergency. For my part, I opted for an Ortovox model with a double positioning of the blade on the handle, classic shovel or pickaxe.

The most important thing to remember about shovels? Everyone in the group has to have one. Take the trouble to practice shovelling in groups of two or three people to become as efficient as possible. During your avalanche safety training, you will learn the fastest shovelling methods.

Other useful equipment

The mountains are splendid but it is a hostile environment. Without necessarily thinking about the worst, it is good to always carry 2-3 small things potentially useful, just in case!
The first aid kit: a must-have with a survival blanket. There are different kits with bandages, compeeds, strips, compresses, eye drops, scissors, tweezers, gloves…
Sunscreen: in the mountains, it’s cooler, we’re GOOD BUT… It sucks!! With the reverberation of the snow, you are on a real mirror. So we follow the advice of dermatologists and we use it regularly.
A lipstick: with the sun, you can quickly have your lips dry, then left in tatters, especially if you are there for several days.

Look the video Val d’Aran Avalanche

Val d’Aran Avalanche

Read more in the article :

OFFPISTE SAFETY – VAL D’ARAN AVALANCHE VIDEO

Concevoir un site comme celui-ci avec WordPress.com
Commencer